Lost Boys Painting: A Step by Step Process
Jan 17, 2023
Part 1 Sketchbook/Linework

I am quite overdue on making this post. I’ve been meaning to get this blog rolling for a while. Hopefully now this little update is live we can a get some regularity going.
I’ve been working on this project a while and the weeks have slowly slipped by me. I’ve repeatedly told my self..the work’s not ready to show..make it better! get further down the line with it..keep shush til it’s done…what if I end up messing it up? Well..let’s be honest perfection is pointless and drawing and painting can take a really long time (especially if you work the way I do). Sharing something publicly can give you some momentum. Anyway - I’m actually well ahead in the process of what I will show you so far today.. this piece has been a particularly long road. I started with the intention of making a Lost Boys piece over a year ago now around Halloween..
I’ve been wanting to do a Lost Boys painting because most of all - me and lot of friends growing up absolutely love this movie..and oh my word..the soundtrack..I’m sure we’ll get to that. My direction with my art work recently is trying to push my portrait drawings and paintings in to the world of film posters, comic cover type montage images. As an 80’s kid I’m pretty nostalgic about the era and I also love the spookier side of things..old pulp horror covers, creatures and stuff. Lost Boys seems to sum up something of what I’m about as a subject matter.

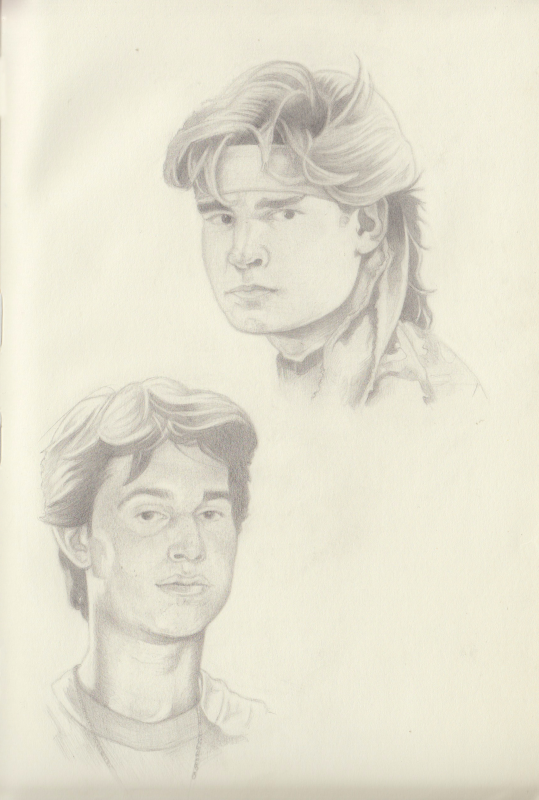
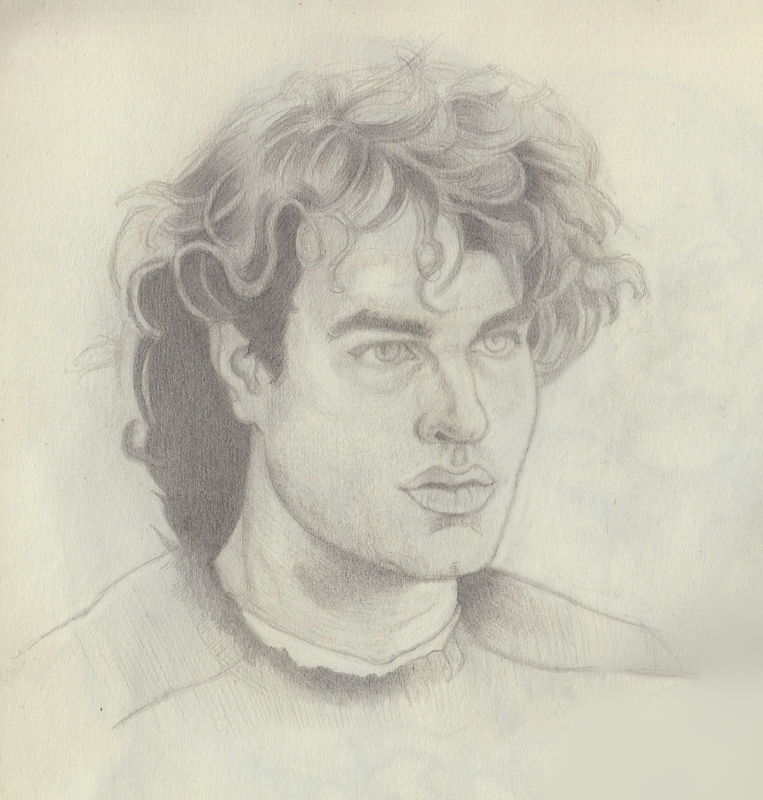
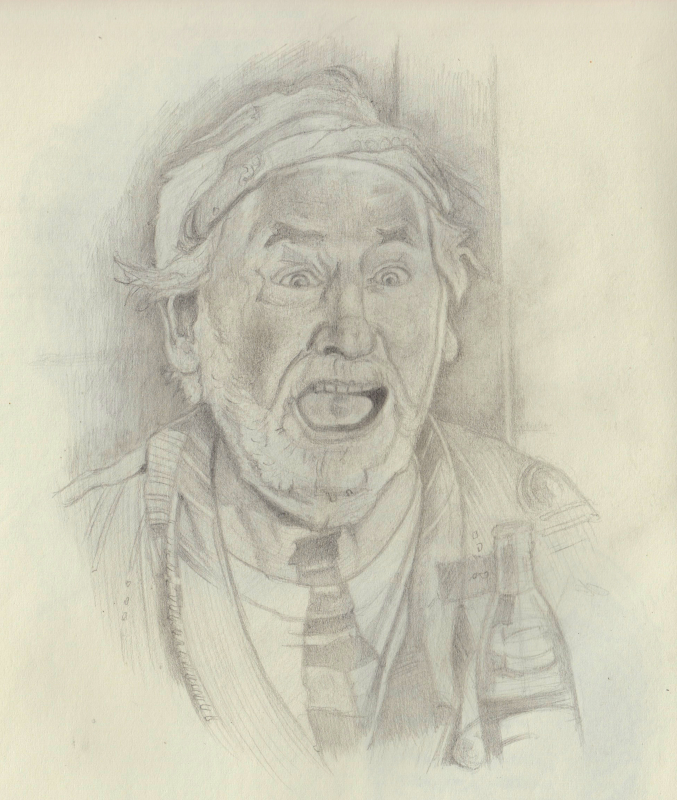
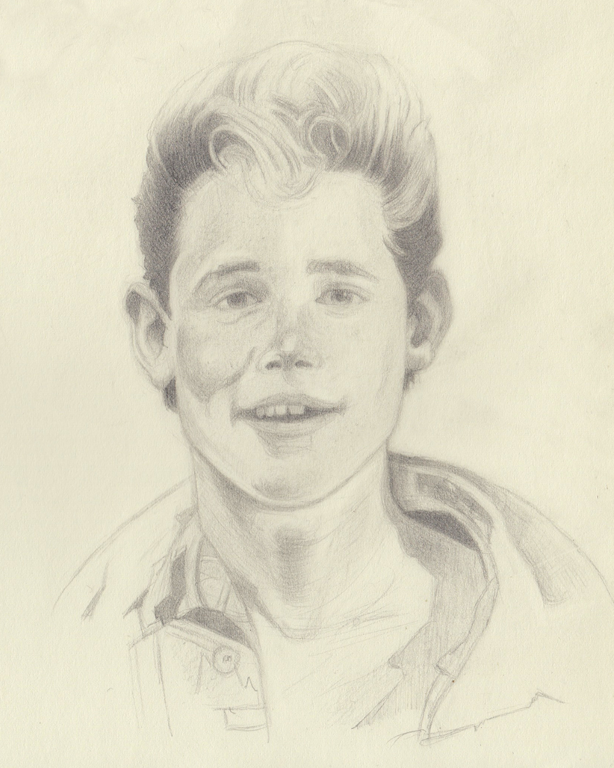
I’ll start anything like this by studying each character in the sketchbook in pencil. It helps me to choose a pose, capture a likeness and begin to think about how I might compose the full piece. The sketchbook is where I think and figure things out. You could say faces just seem to come out of the rain..when you’re strange..
The paper I particularly like to use is that quite light, off tone stuff that you get in ludicrously overpriced Leutchtterm1917 and Moleskine books. It’s incredibly smooth and good for working details. My pencils of choice are 2H for roughing out and a HB for true-ing things up. I tend to us a lead-holder for sketching and sometimes introduce a mechanical pencil for those tighter lines and details. I made a study of every character’s portrait to be included in the painting, some of which I include here. The idea at this point isn’t actually completion..they can be a bit rough and wonky. I just take them to a point where they feel like a fairly solid likeness but can also be improved upon in later stages. By leaving things a little unfinished I feel like there’s still some challenge to pick up and work on further down the road.

The weird thing that happened with this piece is that I thought I was going to do it digitally at first. I scanned all my sketches in and arranged them in Photoshop into a composition and continued to work the characters up there. In fact I went waaayy down the line with it. I did a monochrome under-painting and started on the colours even. Life happened, stuff happened and I got really burned out working on the computer with it. I’m very conflicted about digital work actually, despite having done a lot of it. I think I realised it could be quite a good piece and really wanted to paint it traditionally like the old painted movie posters. So..yep… I abandoned it..let it sit and moved onto something else..for about a year actually..lost in the shadows..lost in the loneliness.
When I finally decided to go back to work on this project, it was like seeing it with fresh eyes. The composition was already worked out for the final and I just needed to resize and transfer my line-work to a board. The piece will be on ivory mount board that’s 45x64 cm. There are 12 characters in total. Printing a large image like this across sheets of A4 paper on your home printer can be a bit of a process. After some flustering about I read online that Microsoft Paint is a good option if you want to print a large picture across A4 sheets so I used a friends Windows machine to print it off. Good ol' Paint is still good for something. How to print a large image using Microsoft-Paint
I feel like I should maybe be showing the entire linework but I’m not quite ready to reveal the composition in the this post, but don’t cry little sister because we’ll be going through the process in more depth next time. It’s going to be a painted poster in acrylic and maybe oils. I want to document the process and techniques as much as I can and if you have any questions, I’m very happy to answer. Next up - Line-work to board > The monochrome under-painting, a sweaty sexy sax man, what brushes will I use? and how the hell do you do backgrounds? etc.. See you next time!.
